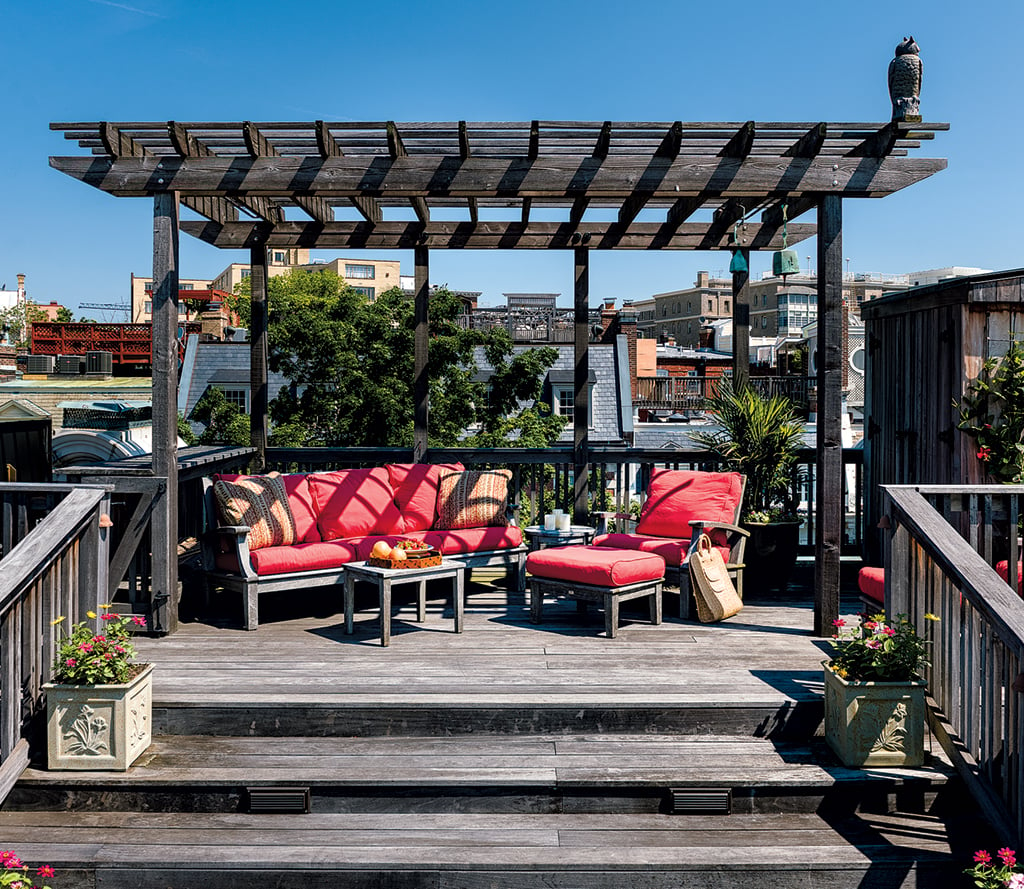
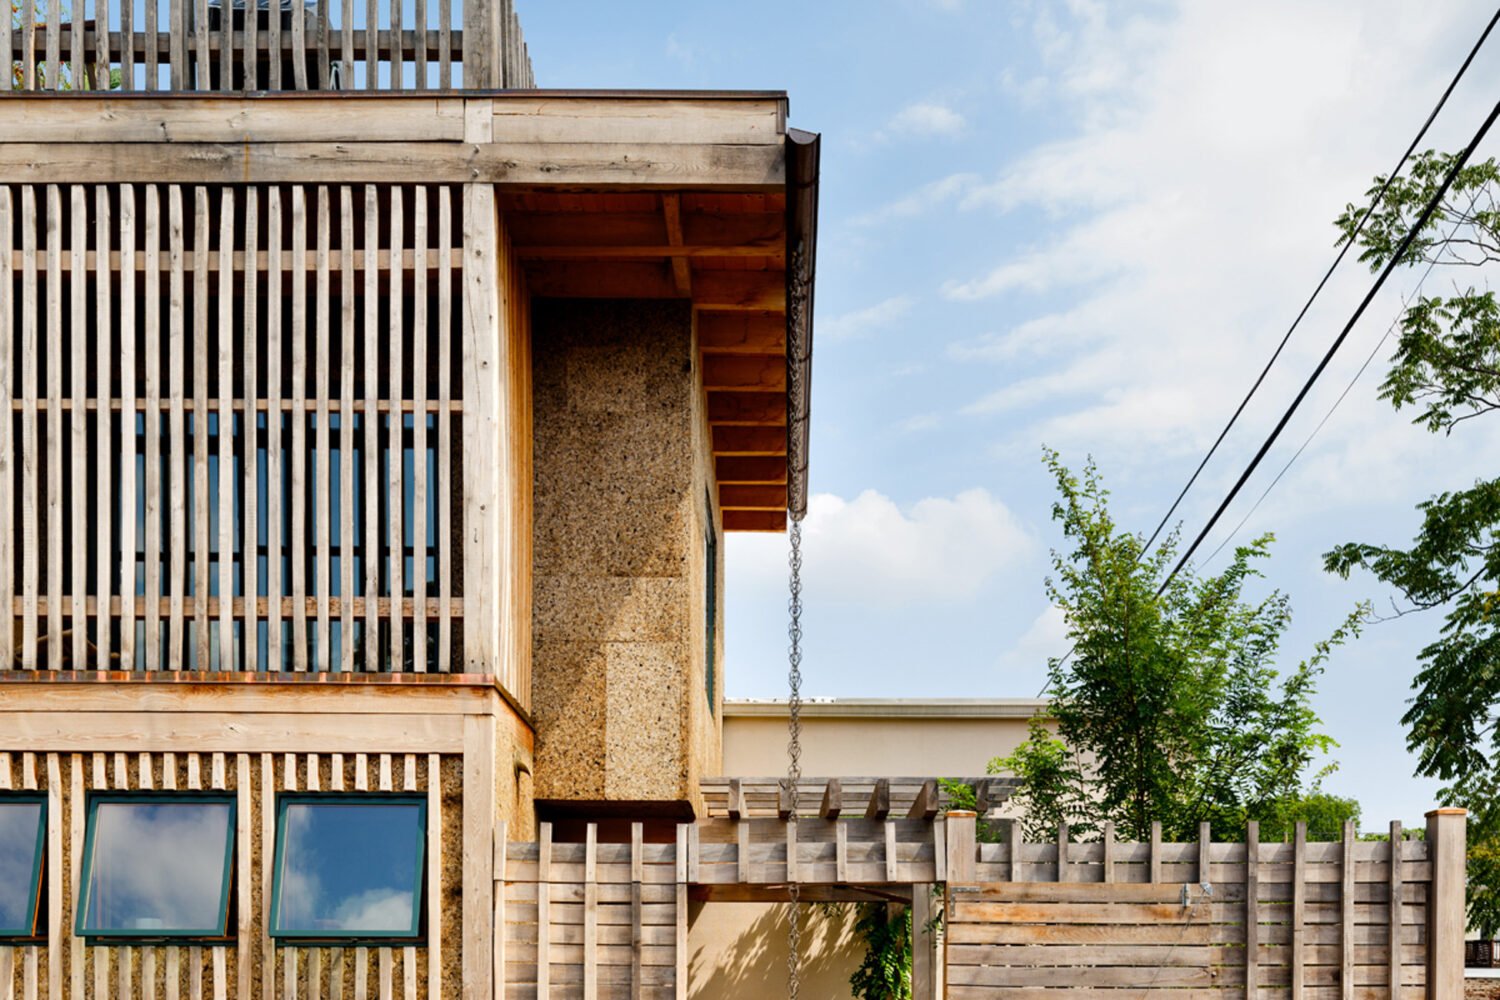
There are horror stories of months-long wait times to secure a roof-deck permit in Washington—and of illegal monstrosities erected by less-than-considerate neighbors. But building a retreat among the trees doesn’t have to end in tears or community battles. Leila Harrington, a remodeler, real-estate agent, and president of Harrington Development, walked us through the steps of planning a roof deck.
1. Find out whether your project is legal in your area by thoroughly investigating the permitting process. This stage is usually the most challenging. Permitting agencies vary, meaning builders may not be used to one particular jurisdiction’s rules. For a happy outcome, follow your local agency’s instructions to the letter.
2. Once you get the go-ahead from your municipality, it’s time to bring in an architect or a structural engineer. A consultation is usually free and will give you a sense of the scale and potential cost of your roof deck. Keep in mind that it’s not only the price of the deck that will set you back—gaining easy access to the roof is often tricky and expensive, too. Stairs do not come cheap.
3. Next, the architect or engineer will draw up plans. Don’t necessarily believe rumors about how DC doesn’t allow decks to be visible from street level. The rules can change from street to street.
4. Now hire a contractor. Previous roof experience is a plus because the contractor will then have access to supply sources and understand the specifics of
the process. Check to make sure the person is properly licensed and insured to work in your area.
5. Time to obtain the permits. The homeowner or contractor can get general building permits. (In the District, it’s sometimes easier and faster for the client to do so at the city’s Homeowner’s Center at 1100 Fourth Street, Southwest.) But
only licensed technicians can receive permits for electrical, gas, or plumbing work, so allow extra time for that.
6. Get to work! “Don’t forget that if your roof access is from inside the house, workers will be carrying materials through your front door and up the steps,” says Harrington. Laying down cardboard can prevent floor damage. Your walls may also need a post-construction touchup.
More Roof Deck Building Tips
1. Harrington recommends modular decking—the kind built and disassembled in small pieces: “Imagine you have a leak on your roof. You don’t want to have to rip out the entire thing for access to the leak.”
2. Before starting construction, consider hiring a roofer to look for signs of damage, rot, or old age. This way, you’ll know you’re laying your deck down on a secure surface. Your contractor should, of course, be looking for signs of trouble, too.
3. DC, like many other municipalities, generally doesn’t allow open-flame cooking on a roof (wood + fire + one exit). So if you’re interested in grilling up there, consider either a hard line that will bring gas up from your home or an electric version. Don’t forget: The decking material itself needs to be noncombustible.
4. If you live in a rowhouse or a condo, consult the homeowners’ association or neighbors before proceeding with the project.
5. If you’re set on including a pergola, tell your architect and the permitting office early on to make sure your municipality’s height restrictions allow it.
6. Select materials both durable and lightweight. (You don’t want anything crashing through your roof.) One unexpected material Harrington recommends is rubber matting used for playground surfaces.
7. You may need to hire a crane to hoist materials onto your roof. Though cranes aren’t as expensive as you might imagine—some are available for a few hundred dollars a day—you’ll also likely need a permit to shut down your street.
This article appears in our July 2016 issue of Washingtonian.

