Over the 17 years we lived in a 1939 brick Colonial, my husband and I periodically flirted with more modern houses. We came close to buying three of them but never went for it until last summer. After 15 years of writing about home design, I knew going in that several spaces were more “before” than “after.” Still, the post-and-beam home in Arlington—built by the Acorn Deck House Company in 1990—checked all our boxes for style and setting, with its open spaces and huge windows framing a nature trail and a wooded hillside.
Thanks to all the time I’ve spent writing about other people’s projects, I wasn’t too worried about diving into one of my own—which isn’t to say everything went as planned. Initially, we budgeted about $115,000 to focus on remodeling the kitchen and waterproofing the basement. We wound up redoing both areas, plus two others, spending more than $140,000, and living in the house for all but two weeks of the construction. Here are my notes on what we learned along the way.
Kitchen
Budgeted: $100,000.
Spent: $100,675.
Time estimated: Six weeks.
Time it took: Eight weeks.
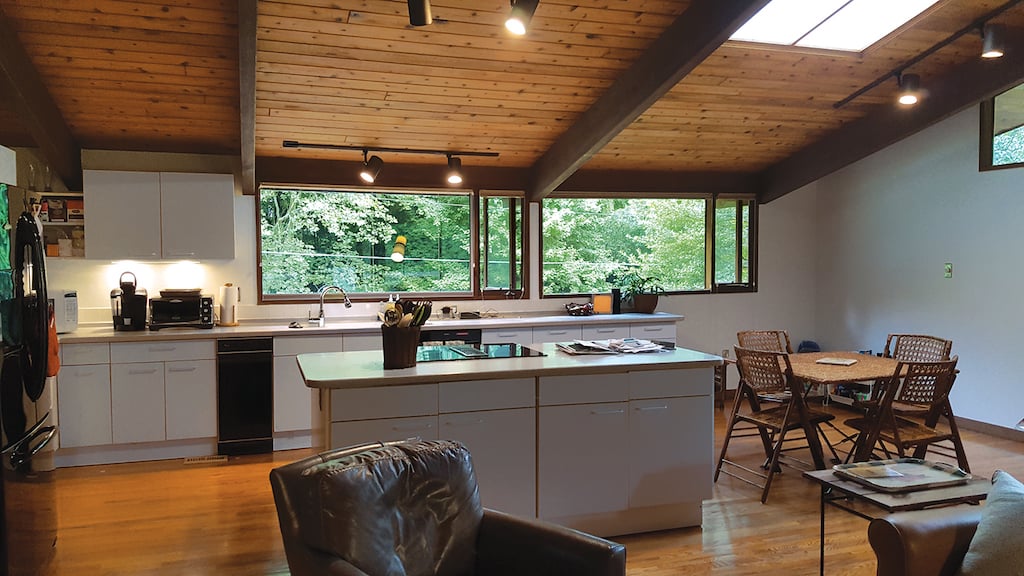 Before. Photograph courtesy of Jennifer Sergent.
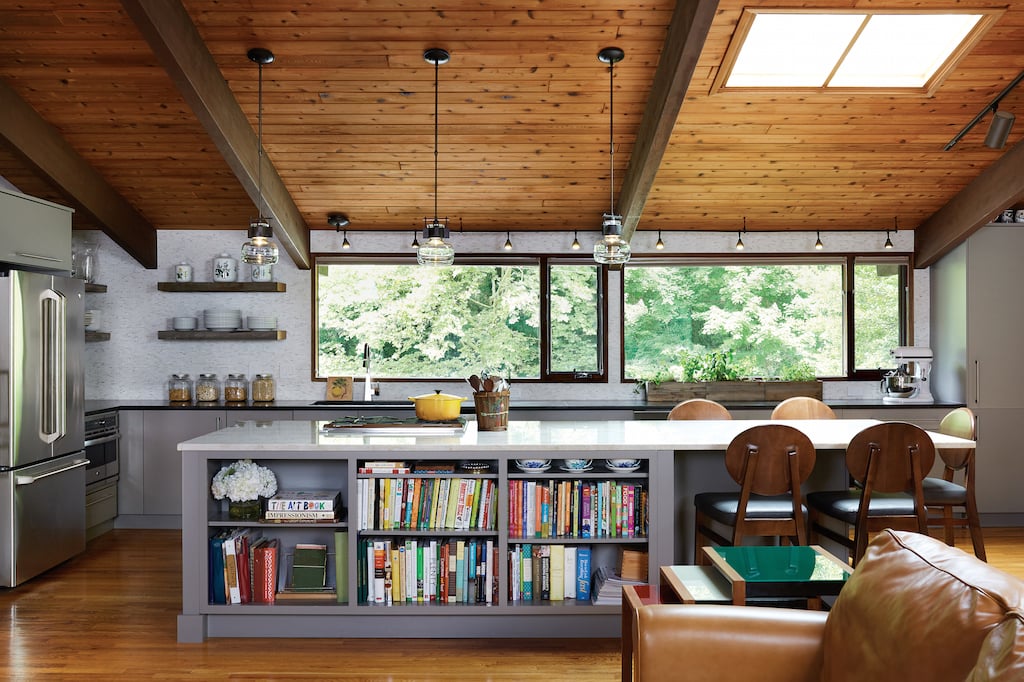 After. Photograph by Stacy Zarin Goldberg.
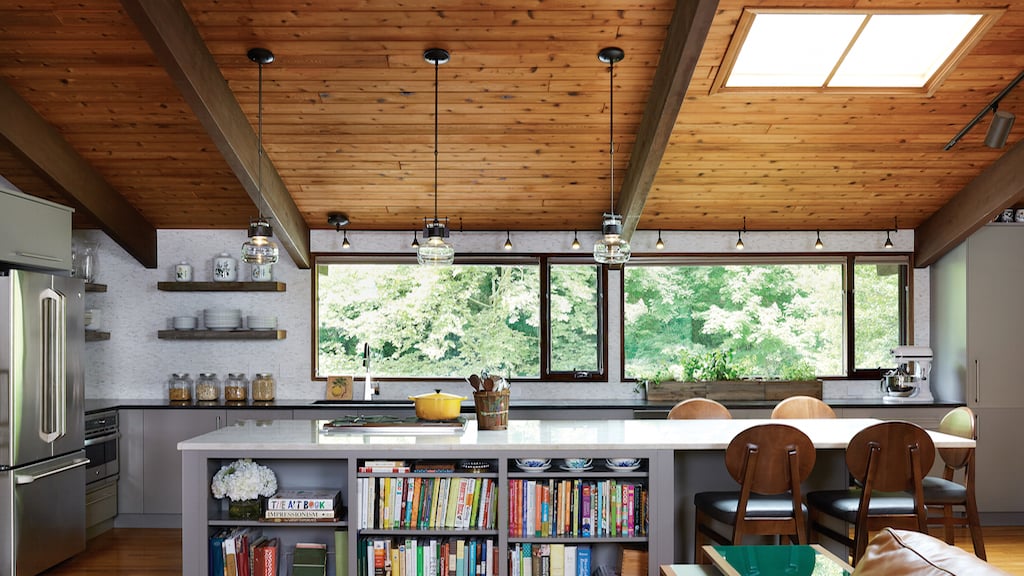
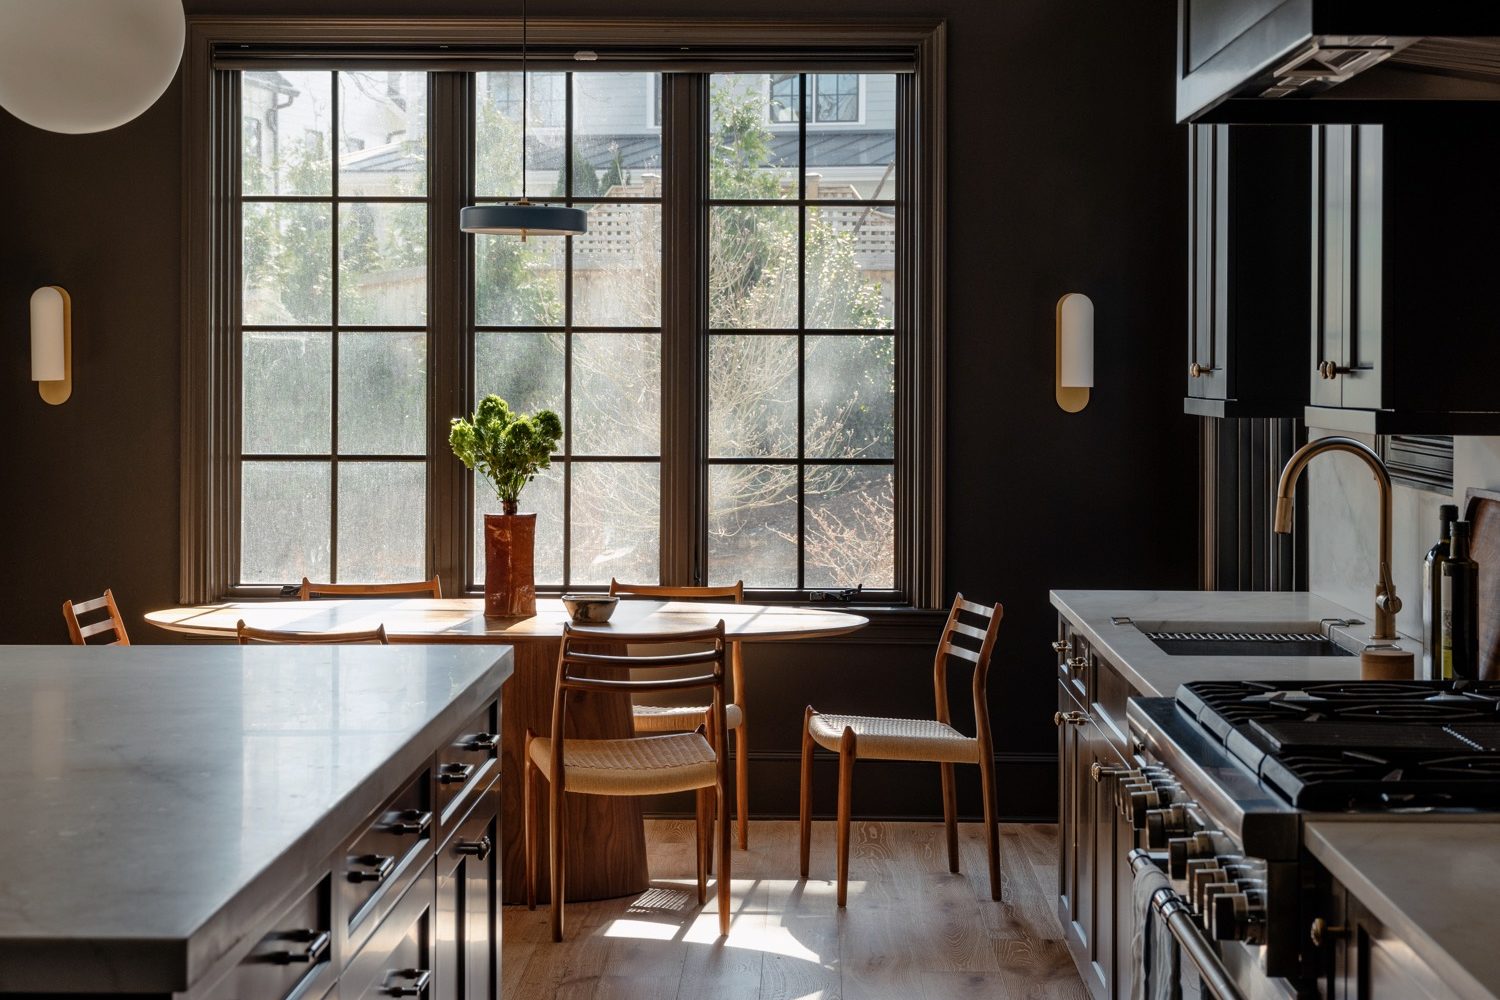
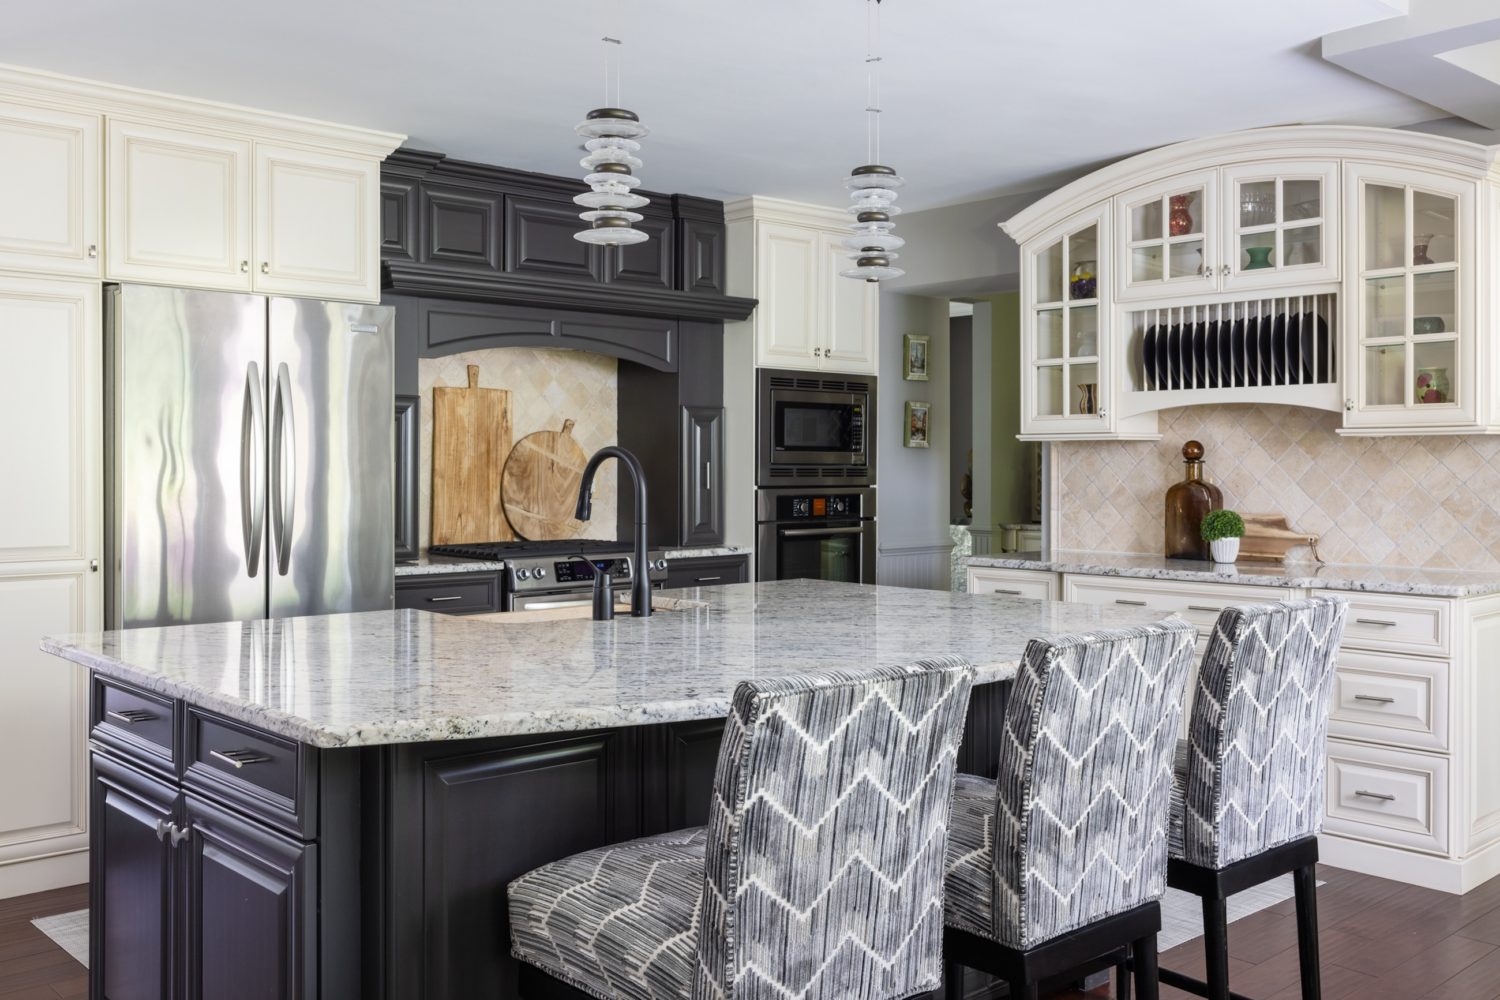
Among other problems, the original kitchen’s laminate cabinets were nearly hanging off their hinges, and the island was inexplicably small. Though the galley layout was sound, we enlisted Nadia Subaran of Aidan Design to figure out how to fit a larger island, extend the counters the length of the wall, and help us pick countertops and cabinets. Her team seamlessly incorporated our choices for appliances, hardware, and finishes into the layout. When you hire a professional design firm like Subaran’s, you can expect to pay for an initial site visit, measurements, and drawings—which cost about $2,500—and to buy the big-ticket items such as countertops and cabinetry through that company.
I think it’s worth hiring pros because they shepherd the whole project for you, helping keep you on time and budget. Of the money we spent on the kitchen, more than $52,000 went to Aidan Design—and, full disclosure, that was after Subaran gave us an unsolicited 10-percent discount because we’re friends. We still went slightly over our original budget because we splurged on handmade pendant lights from Hubbardton Forge and custom barstools from Willem Smith.
Biggest headache: The main living areas were behind plastic sheeting for two months, and the construction dust still got everywhere. Meals consisted of frozen dinners zapped in a microwave set up in the lower-level family room.
Unforeseen issue: We had major problems with the down-draft vent that rises behind our stove. The appliance salesman gave us incomplete measurements, so the cabinet guys didn’t leave enough space for the exhaust ducts when they installed the cabinetry around the range. Luckily, this kind of ductwork can be installed in a variety of configurations, though it took two more weeks to come up with a solution and about $250 in extra parts to get it right.
Best bang for the buck: Our quartzite island countertop, called Taj Mahal. Its coloring and scale unify the kitchen and family room. The 12-foot-3-inch slab cost more than $10,000—but makes me smile every day. We eat most of our meals there, and it doubles as a buffet.
Library
Budgeted: $0.
Spent: $13,282.
Time estimated: Two weeks.
Time it took: Four weeks.
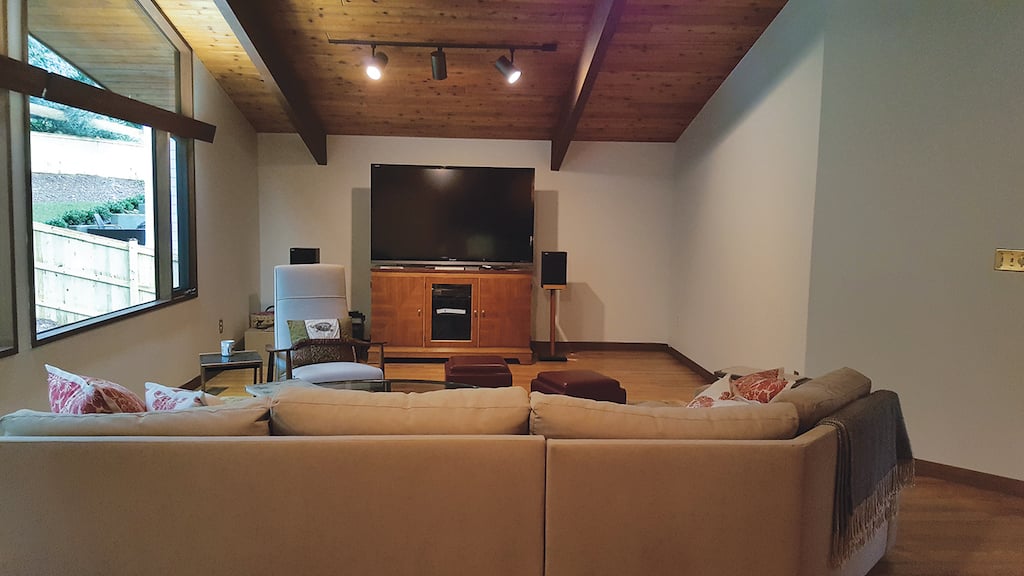 Before. Photograph courtesy of Jennifer Sergent.
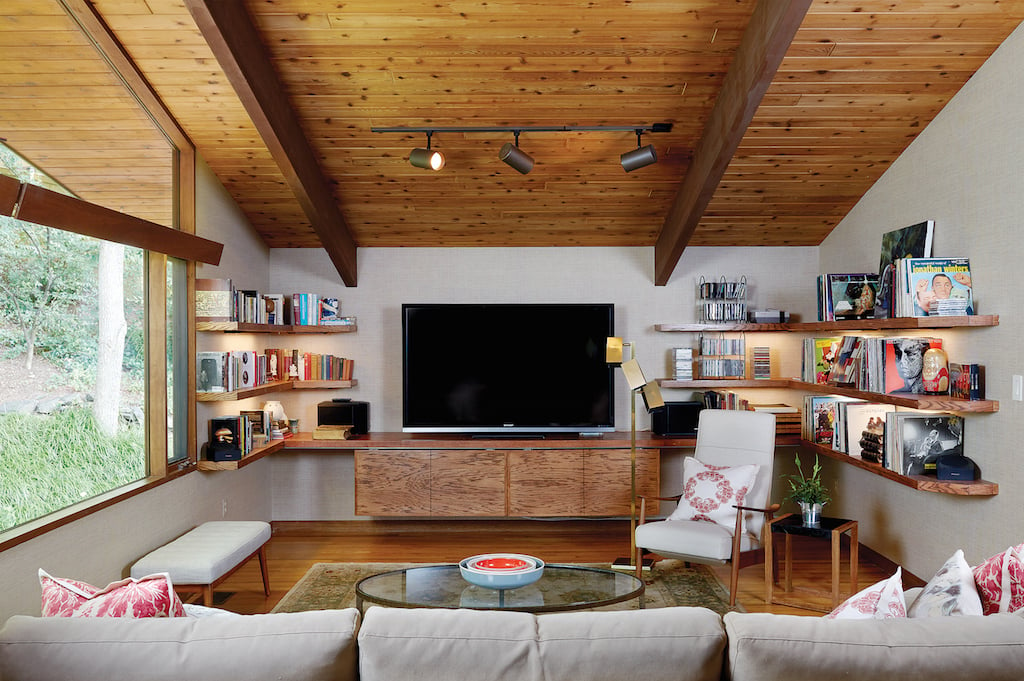 After. Photograph by Stacy Zarin Goldberg.
A gigantic space overlooking the entry was large enough for two rooms, but it didn’t have a clear purpose and it felt cold and unfriendly. While we didn’t initially plan—or budget—to redo it, we decided it was now or never. Like the basement, it felt like a monumental waste of space not to get any real use, and we still didn’t have a place for our books and record albums. So we raided our savings accounts to turn it into an inviting library and office area, with plenty of storage.
Grasscloth-like vinyl paper now covers the walls, which are wrapped in custom oak shelving. I got advice from several interior-designer friends during the reno, including a tip from Andrea Houck that vinyl paper is ideal for shelves
because books and other items won’t scuff it. My husband, Jim, designed the shelves, which include a built-in desk and clever hanging wood panels that screen the TV and stereo equipment.
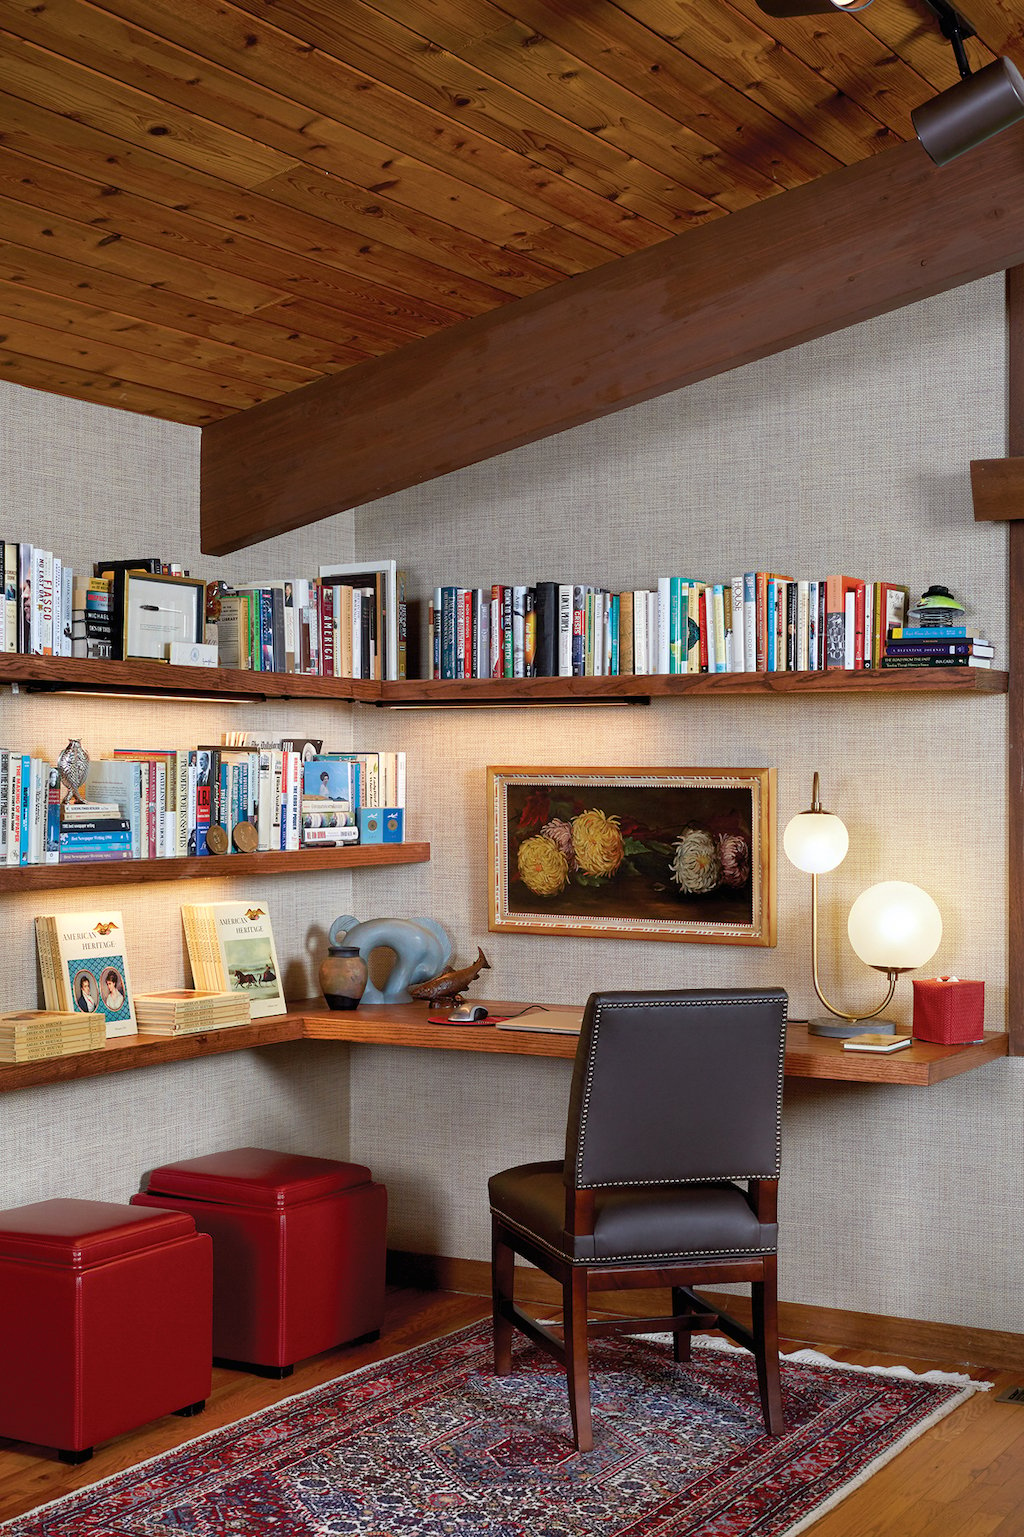
Biggest headache: Jim had a hard time explaining to the carpenters how he envisioned the TV/stereo screen working—it hangs on a roller track, similar to sliding closet doors—plus they kept losing his plans.
Unforeseen issue: What were supposed to be 13-inch shelves to hold 12¼-inch record albums were cut an inch too shallow. The carpenters installed and stained all that beautiful oak before we realized their error. They had to cut, stain, and attach an extra inch of hidden wood in back. Because it was their fault, they didn’t charge for the extra work and materials.
Biggest bang for the buck: Using screen panels instead of fully enclosed cabinetry to hide the TV and stereo components saved us thousands.
Powder Room
Budgeted: $0.
Spent: $1,500.
Time estimated: Two days.
Time spent: Two days.
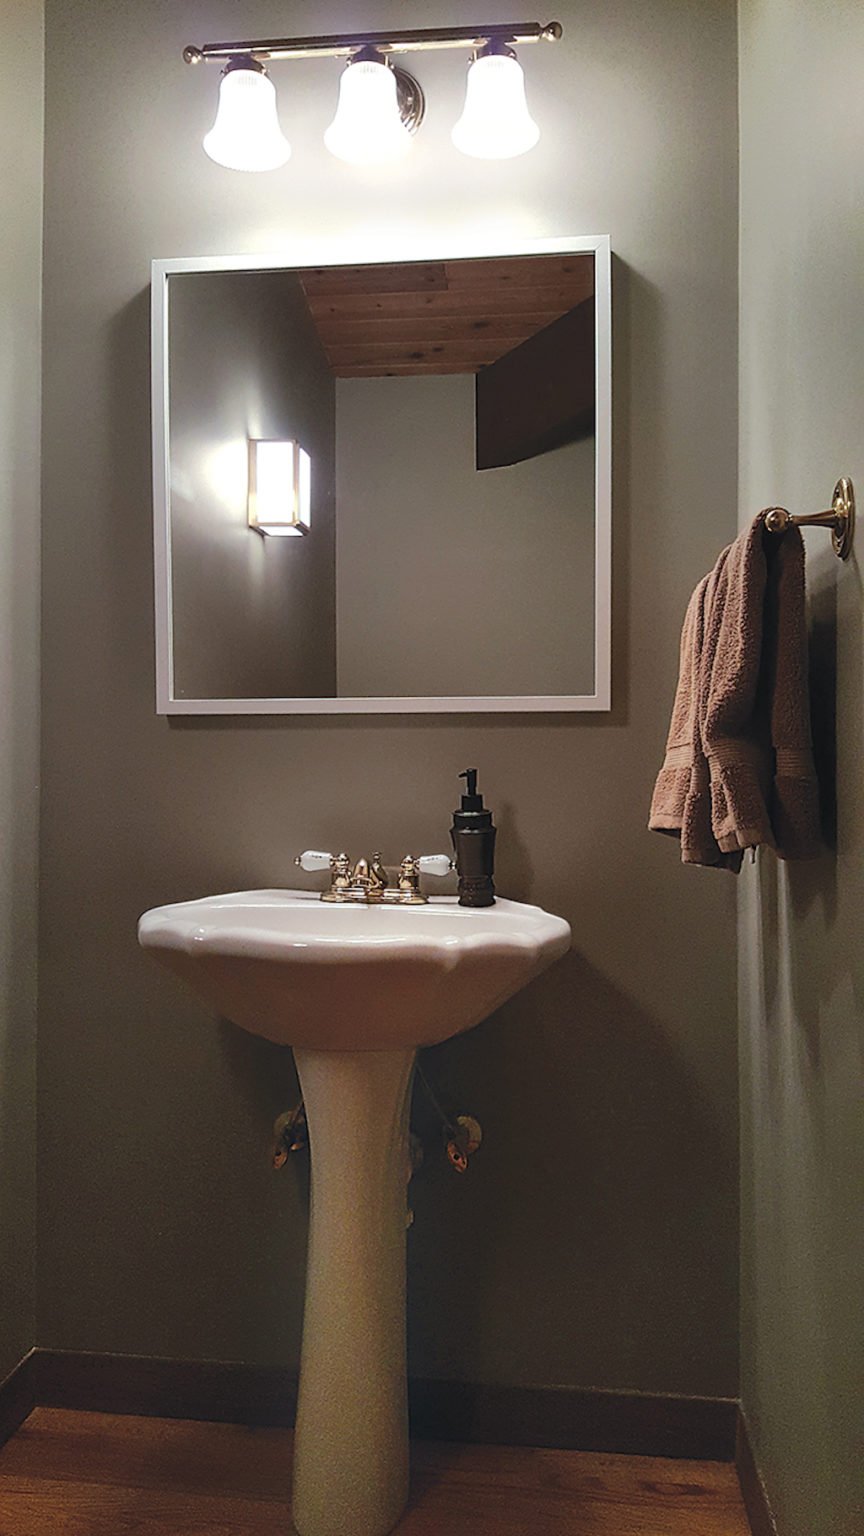 Before. Photograph courtesy of Jennifer Sergent.
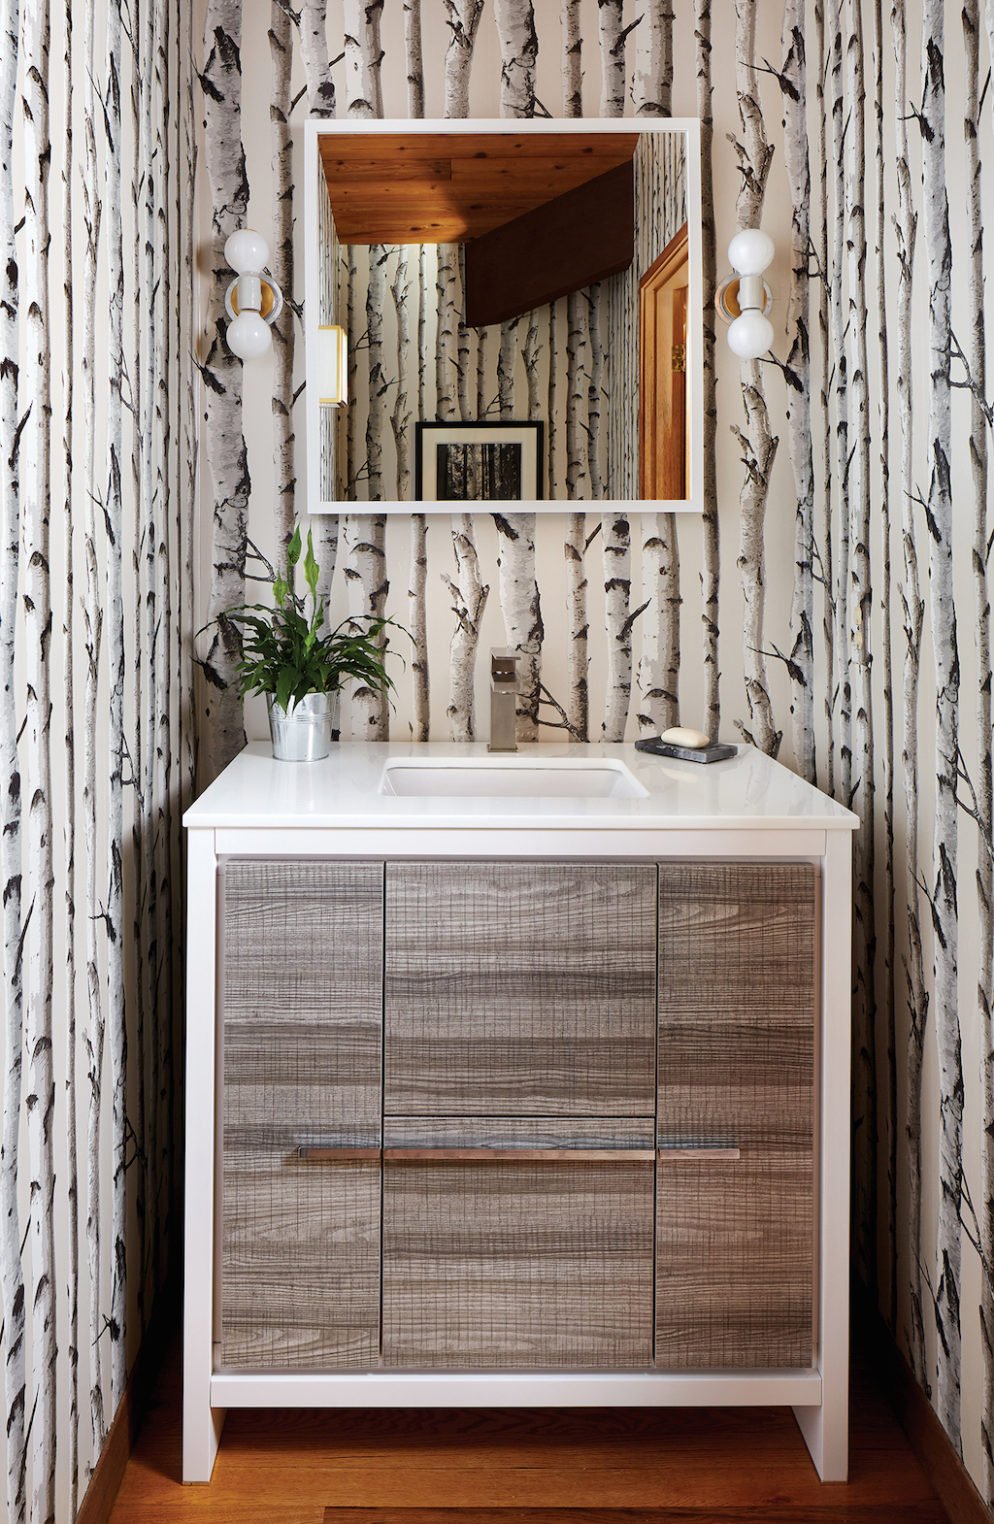 After. Photograph by Stacy Zarin Goldberg.
This is another room that wasn’t initially on our renovation radar, but with each passing day after we moved in, the dark, depressing little space became more of an irritation. We’d already finished the basement, then the kitchen, then the library. After making it through nearly six months of work, tacking on a two-day update to the powder room seemed well worth it. We found a fantastic vanity for $875 on Overstock.com that complemented the aspen-tree wallpaper I’d been eyeing. Sconces from Schoolhouse Electric added a mod touch—and we kept the room’s only attractive feature, a white-framed mirror from Ikea.
Biggest headache: We initially bought peel-and-stick wallpaper, but our paper-hanger, Michael DiGuiseppe, told us to return it and get the real stuff. Peel-and-stick isn’t printed on paper, he explained, and tends to have a cheap, plastic-like sheen. Also, real wallpaper is easier to install. DiGuiseppe’s advice was spot-on, but the return process was a pain.
Unforeseen issue: Not a big deal, but—the light switch. Normally, switches are to the right of door frames as you enter a room, but because this door originally opened inward and to the right, the switch is on the left. I still reach to the right every time I go in.
Biggest bang for the buck: When the door opened inward, it blocked the vanity and you had to back up to the toilet just to close the door. We asked our contractors to change the hinges so the door opens out. This tiny change—which cost nothing—made the room feel so much bigger.
Basement
Budgeted: $15,000.
Spent: $24,800.
Time estimated: Two weeks.
Time it took: Five weeks.
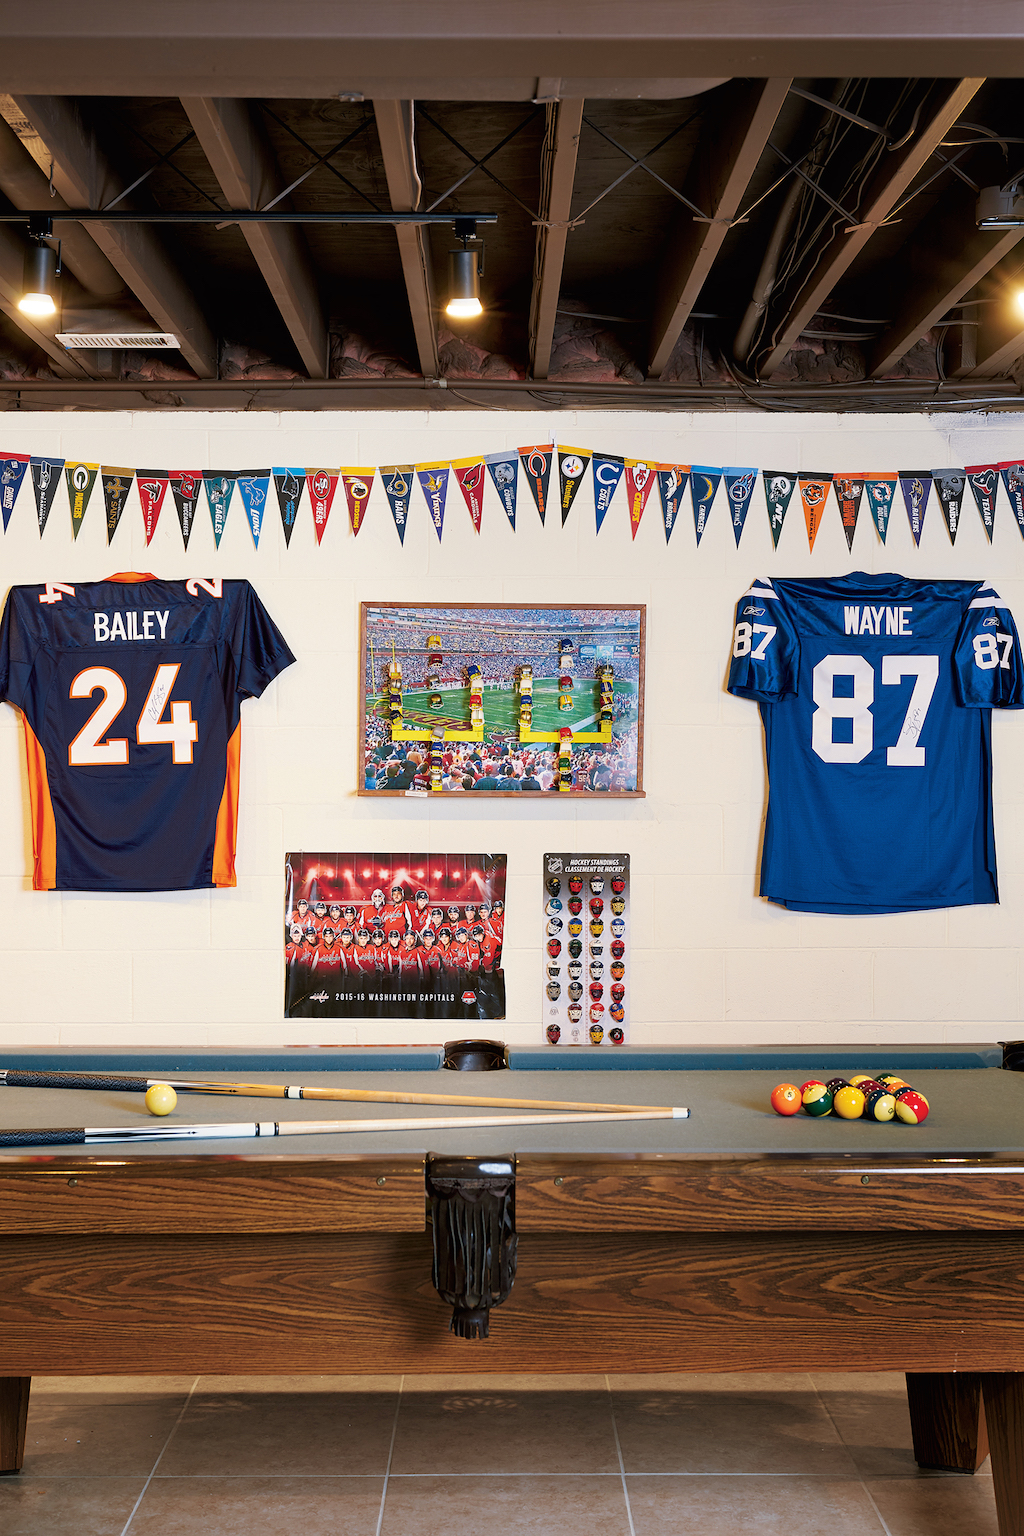
We went in for waterproofing reasons—an old French drain needed to be replaced. But we quickly realized that with a little sprucing up, we could fit much more than storage in the 1,000-square-foot basement.
We tiled the concrete floor, installed decent lighting, and painted. Now the kids can watch TV while playing pool, and my husband and I can use the workout area. We kept the other half of the room for storage.
Biggest headache: Not being able to store stuff down there for so long. We had boxes crammed in everywhere upstairs.
Unforeseen issue: Painting the ceiling, rafters, and overhead ductwork achieved the intended effect—it almost feels as if there’s no ceiling—but we didn’t know that when you paint ducts, you’re not supposed to turn on the air conditioning until they’re dry. Because the cold air created condensation, it was raining paint the morning after we moved in, during the thick of July’s heat.
Biggest bang for the buck: Painting the space for $2,850 rather than spending an extra $10,000 to install drywall. The crisp white walls and dark ceiling truly transformed this dingy basement.
Jennifer Sergent, a design writer in Arlington, blogs at dcbydesignblog.com.
This article appears in the August 2017 issue of Washingtonian.

