The flower crown has arguably become as popular as the veil for brides on their wedding day. Gone are the days of long trains and chapel-length veils (although we still love those, too); floral crowns really allow the bride to add a personalized edge to her headpiece and to those of her bridesmaids. We also love the idea of gifting them to the bridal party during a shower or luncheon. Owner of B Floral and Event Design, Shelly Bagdasian, agreed: What better way to personalize a floral crown with all your favorite flowers but to make it yourself too? So here, Bagdasian shows us how to achieve the look in five easy steps.
Step one
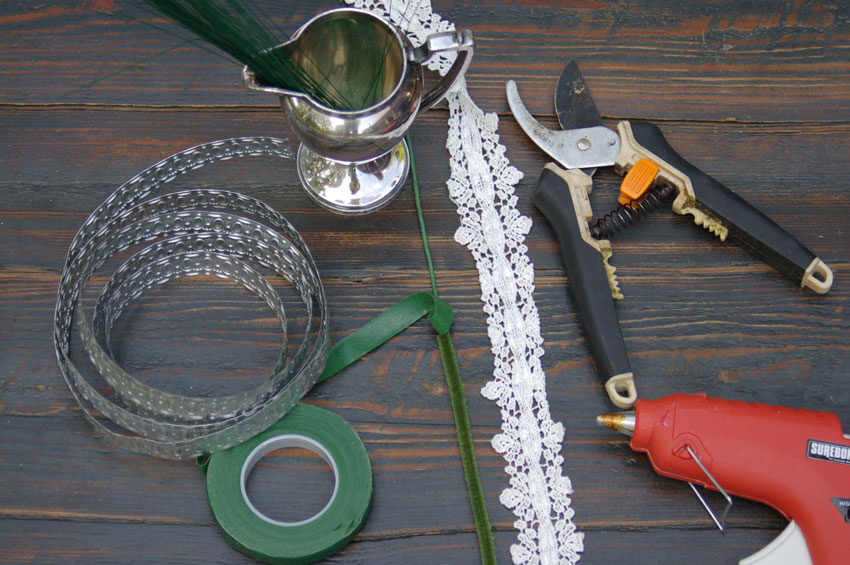
“Collect your tools and get creative. Ribbon, hot glue gun, clippers, wire, pipe cleaners and floral tape. Wrap the pipe cleaners with tape and glue to the ribbon or use a metal band, creating a sturdy base.”
Step two
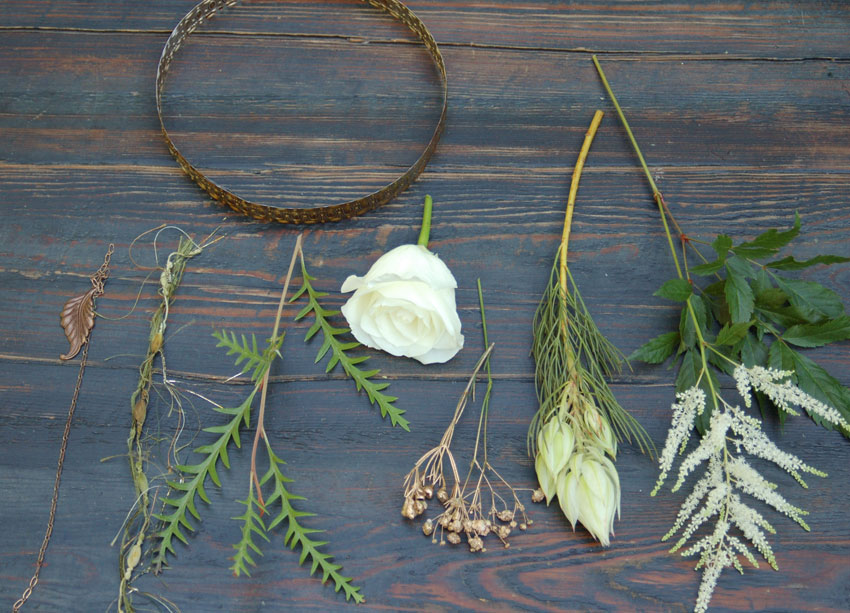
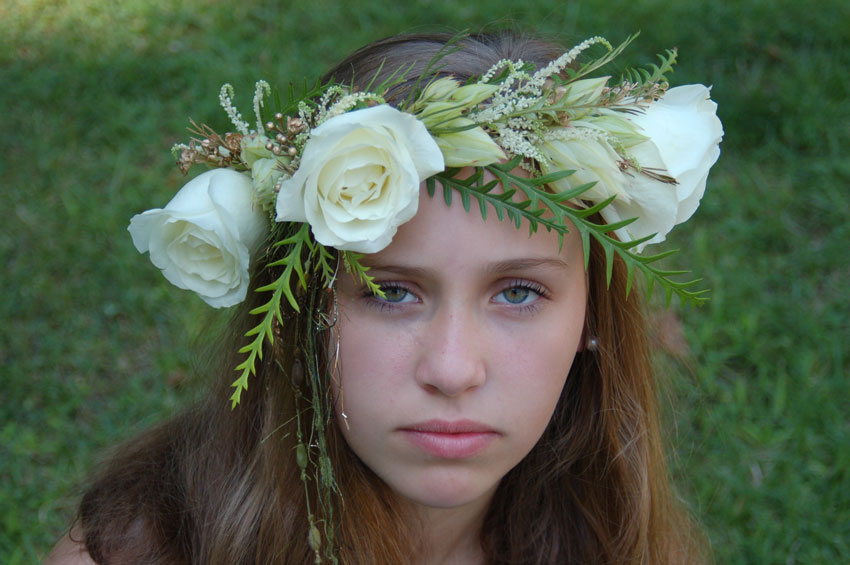
“Choose your flowers and unique accents like feathers, crystals, ribbons, or metal. Greens, roses, astilbe, blushing bride protea, gold sprayed wax flower accents. When choosing your flowers and materials try to select a variety of sizes and textures.”
Step three
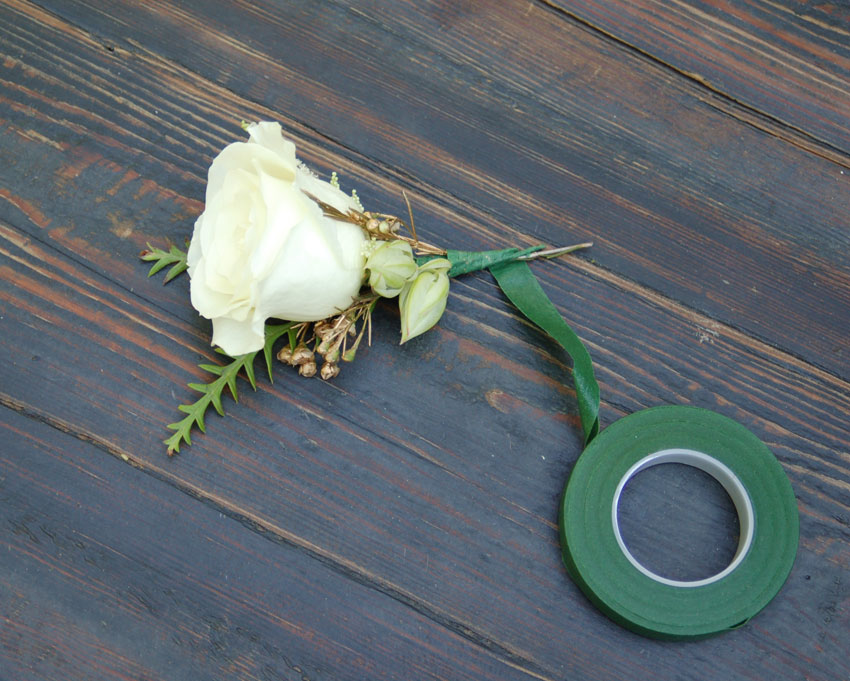
“Wire and tape your flowers, first individually and then together in clusters. Glue the clusters to a leaf or stiff ribbon that can then be glued to the band.”
Step four
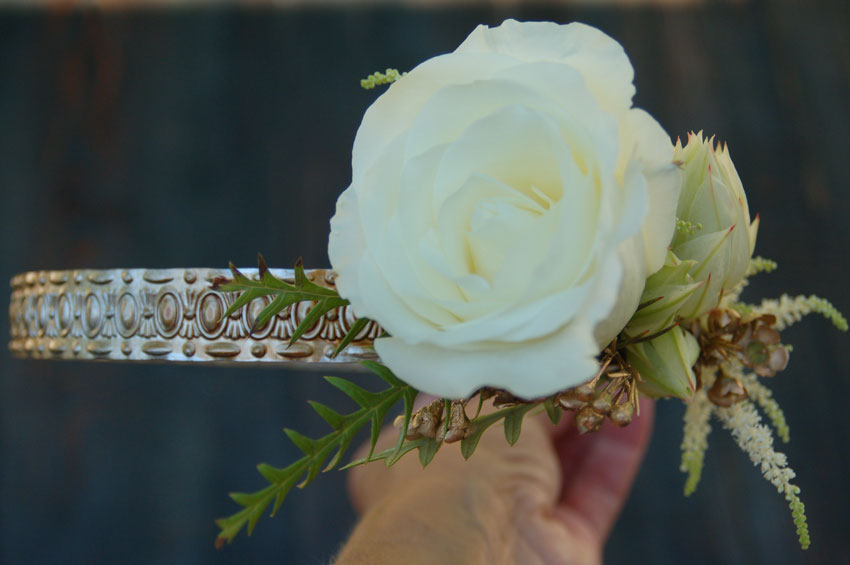
“Lay out your design. I suggest trying different combinations before finalizing. I like to leave some of the ribbon band showing when using beautiful and unique ribbons.”
Step five
“I love to do hanging pieces, such as ribbons, chain with metal accents, feathers, etc. Wire any hanging objects to the band!”
And for the festival going-gal, be sure to check out the September issue of Washingtonian to see how our team styled the floral crown on a boho-chic Style Setter.
Find Valeria Boucas on Twitter at @valeriaboucas.