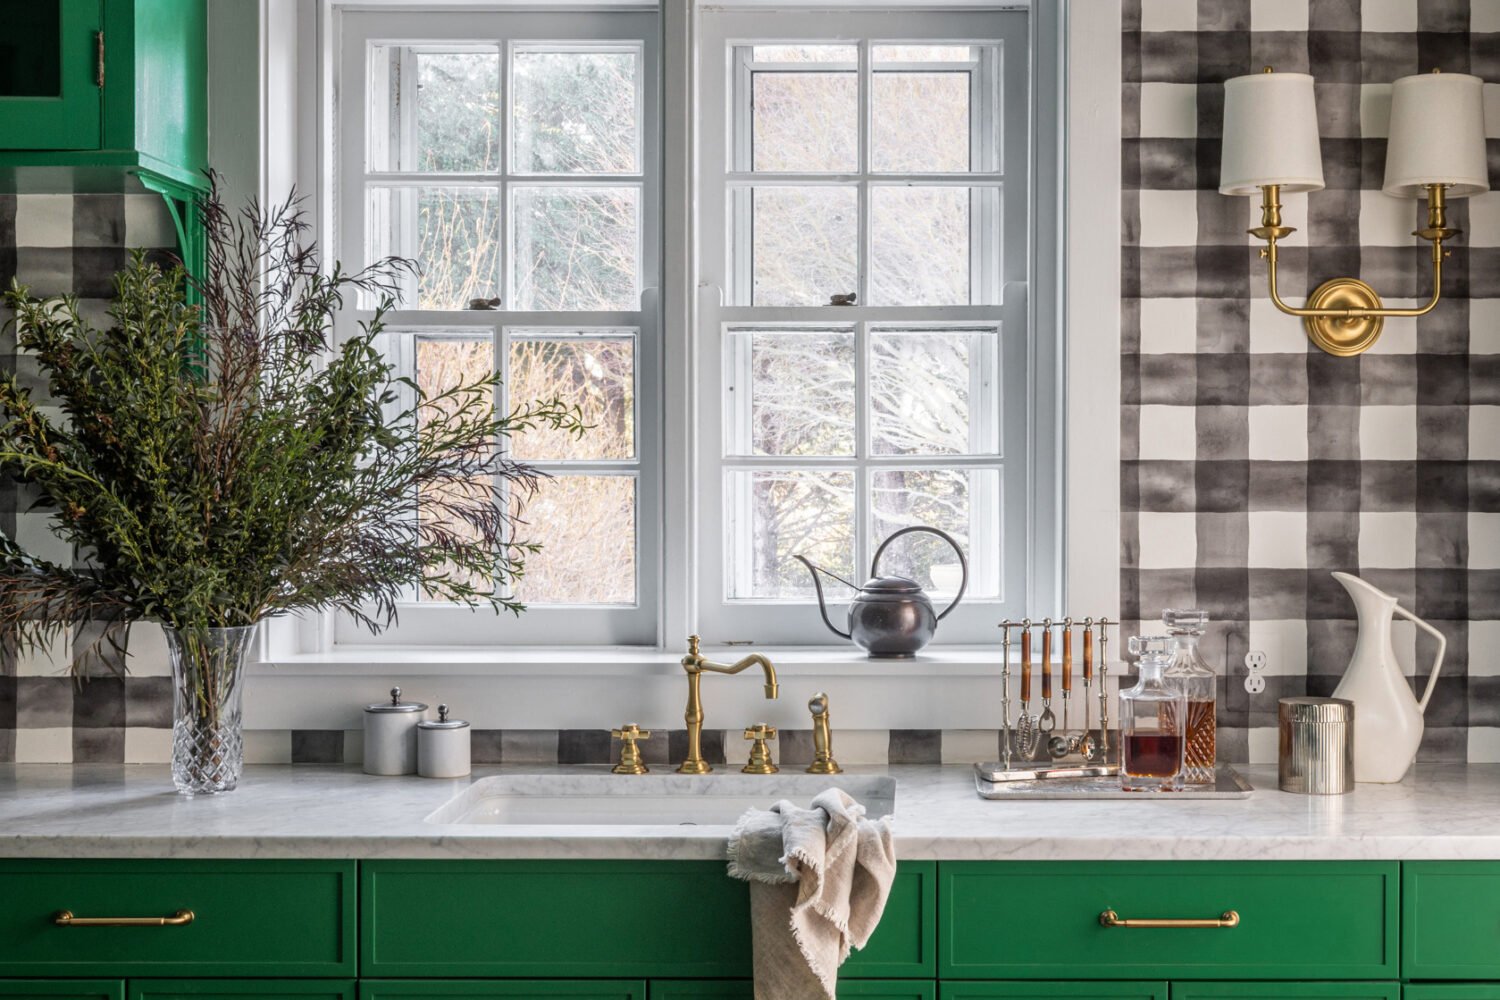
Nobody ever takes a course in how to decorate the dead tree they’ve paid too much money for and dragged into their home. And so for years innocent civilians wander about in a haze of holiday confusion, blithely blanketing their carpets in a prickly coating of piney horror while working to create a majestic piece of yuletide art. Luckily, we’re here to help, with three must-know tips that will make your life easier, your spouse less cranky, and your vacuum less clogged. This is serious business, people.
1. Put the tree in the stand outside, then carry it in.
Christmas tree needles are like confetti: six months after they’ve floated down onto the carpet you’re still discovering them, lurking underneath radiators and sticking to the bottoms of your bare feet. But you can provide a serious antidote to the Pine Needle Plague by staying outside while doing the rough, shaky, relationship-destroying task of placing the tree in the stand. Getting it straight in the stand is a job that usually requires the precision of a Type Double A personality, and in the heat of the moment, as the tree wildly waves back and forth in your living room, tipping into lamps and bookshelves, it usually drops a good chunk of its barely-hanging-on needles.
Stand as close as you can to the entry with the easiest access to the tree’s staging area while wiggling it into place, then move the furniture out of the way and move on to Step 2.

2. Put down a painter’s tarp while you carry it in.
Most trees are bound up in netting when you buy them, which makes it all the easier to carry them down the street or rope them onto the roof of your car. But that netting won’t save your carpeting from the virtual blizzard of needles that’s about to come its way when you carry the tree through the house. So do yourself a favor: put down a painter’s tarp that you can then roll up and shake out once the tree is in its proper place.
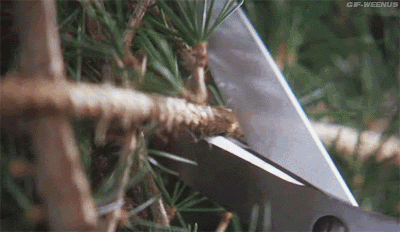
Then put the tarp directly under the tree while you snip the netting off. This is often the moment when that blizzard of needles takes a turn for the worse, but the tarp will catch most of those rascally little guys. Again, roll up the tarp, folding the edges in first, and move on to the Step 3.
3. Give the tree 24 hours to settle.
I know it’s tempting to shove the lights right in there once the tree is up and ready, but that same netting that made your tree easy to carry also bent its branches in the exact opposite direction of the way they want to fall. So let the tree stand for a good 24 hours and just enjoy the fact that our culture allows us to carry fresh-smelling, recently chopped down trees into our home and decorate them with lights and assorted other objects, without it seeming weird in the slightest. Letting the branches settle before decorating means less brute force is used in the process, which cuts down on the numbers of needles spilled. Once they’ve “fallen” get in there for the hard work of draping the lights just so. Again, we recommend a tarp.

Really this all boils down to the tarp. Get one.

Hillary writes about interiors, real estate, arts, and culture. She is the former digital media editor of The New Republic, and her work has also been published in Glamour, The New York Times Book Review, and The Washington Post, among others. You can follow her on Instagram @hillarylouisekelly or on Pinterest @hlkelly.