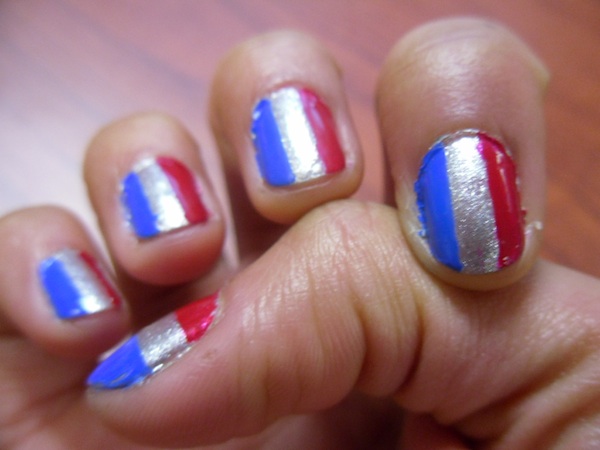
Color-blocking as a trend is here to stay, and as big fans of nail art we don’t see any reason it shouldn’t translate to your fingertips, too. And with the Olympics dominating TVs—and brains—until Sunday, it’s the perfect time to accessorize with Team USA colors. We’ve got a step-by-step guide to this totally easy look—no special equipment required.
The best part? This mani is endlessly customizable. For an even funkier spin, try glitter or neon, or vary the width and placement of the stripes; to keep it more conservative, stick to two or three shades from the same color family.
Here’s what you’ll need:
• A base coat (optional)

• Three polishes of varying shades (in this case, obviously, red, white, and blue, although I used silver). For your own sanity, stay away from super-sheer formulas; you want something that’ll give you fairly opaque coverage in one coat, as it’ll cut the drying time in half.
• A quick-drying top coat. This is also optional, but I highly recommend it—it’ll set the polish quicker, smooth everything out, and prolong the life of your mani.
• Tape (Scotch or masking) and scissors.
• A little bit of patience.

Step One: Cut two pieces of tape about 1½ to 2 inches long. Snip each one lengthwise into several thin strips. You’ll need one strip for each finger (if you’re lazy like me you can probably use each piece at least twice). Stick them to the edge of a table as you go so you can access them easily later.
Step Two: Over your base coat (if using), apply one coat of your first polish color*. It’s usually easier to start with the lightest shade. Let it dry COMPLETELY.

Step Three: Once your first coat is dry, get a strip of tape and adhere it to the middle of one nail, making sure to leave enough on either end so you can peel it off your finger easily. Press the edges down to make sure it’s totally flat to your nail. You can place the tape horizontally, vertically, diagonally, whatever. Go nuts.

Step Four: Using a thin coat, paint your nail on one side of the tape with blue and the other with red. It’s okay if things look a bit messy at this point. As soon as you’re done applying the red, carefully peel of the strip of tape. Admire. Repeat with your other nails.

Step Five: Let everything dry for a few minutes, and then apply your top coat. Et voilà! Gold-medal-worthy nails.
*If you want to vary the order of the colors on your nails, simply alternate your base color and then follow the steps from there.


